Basic Setup Process
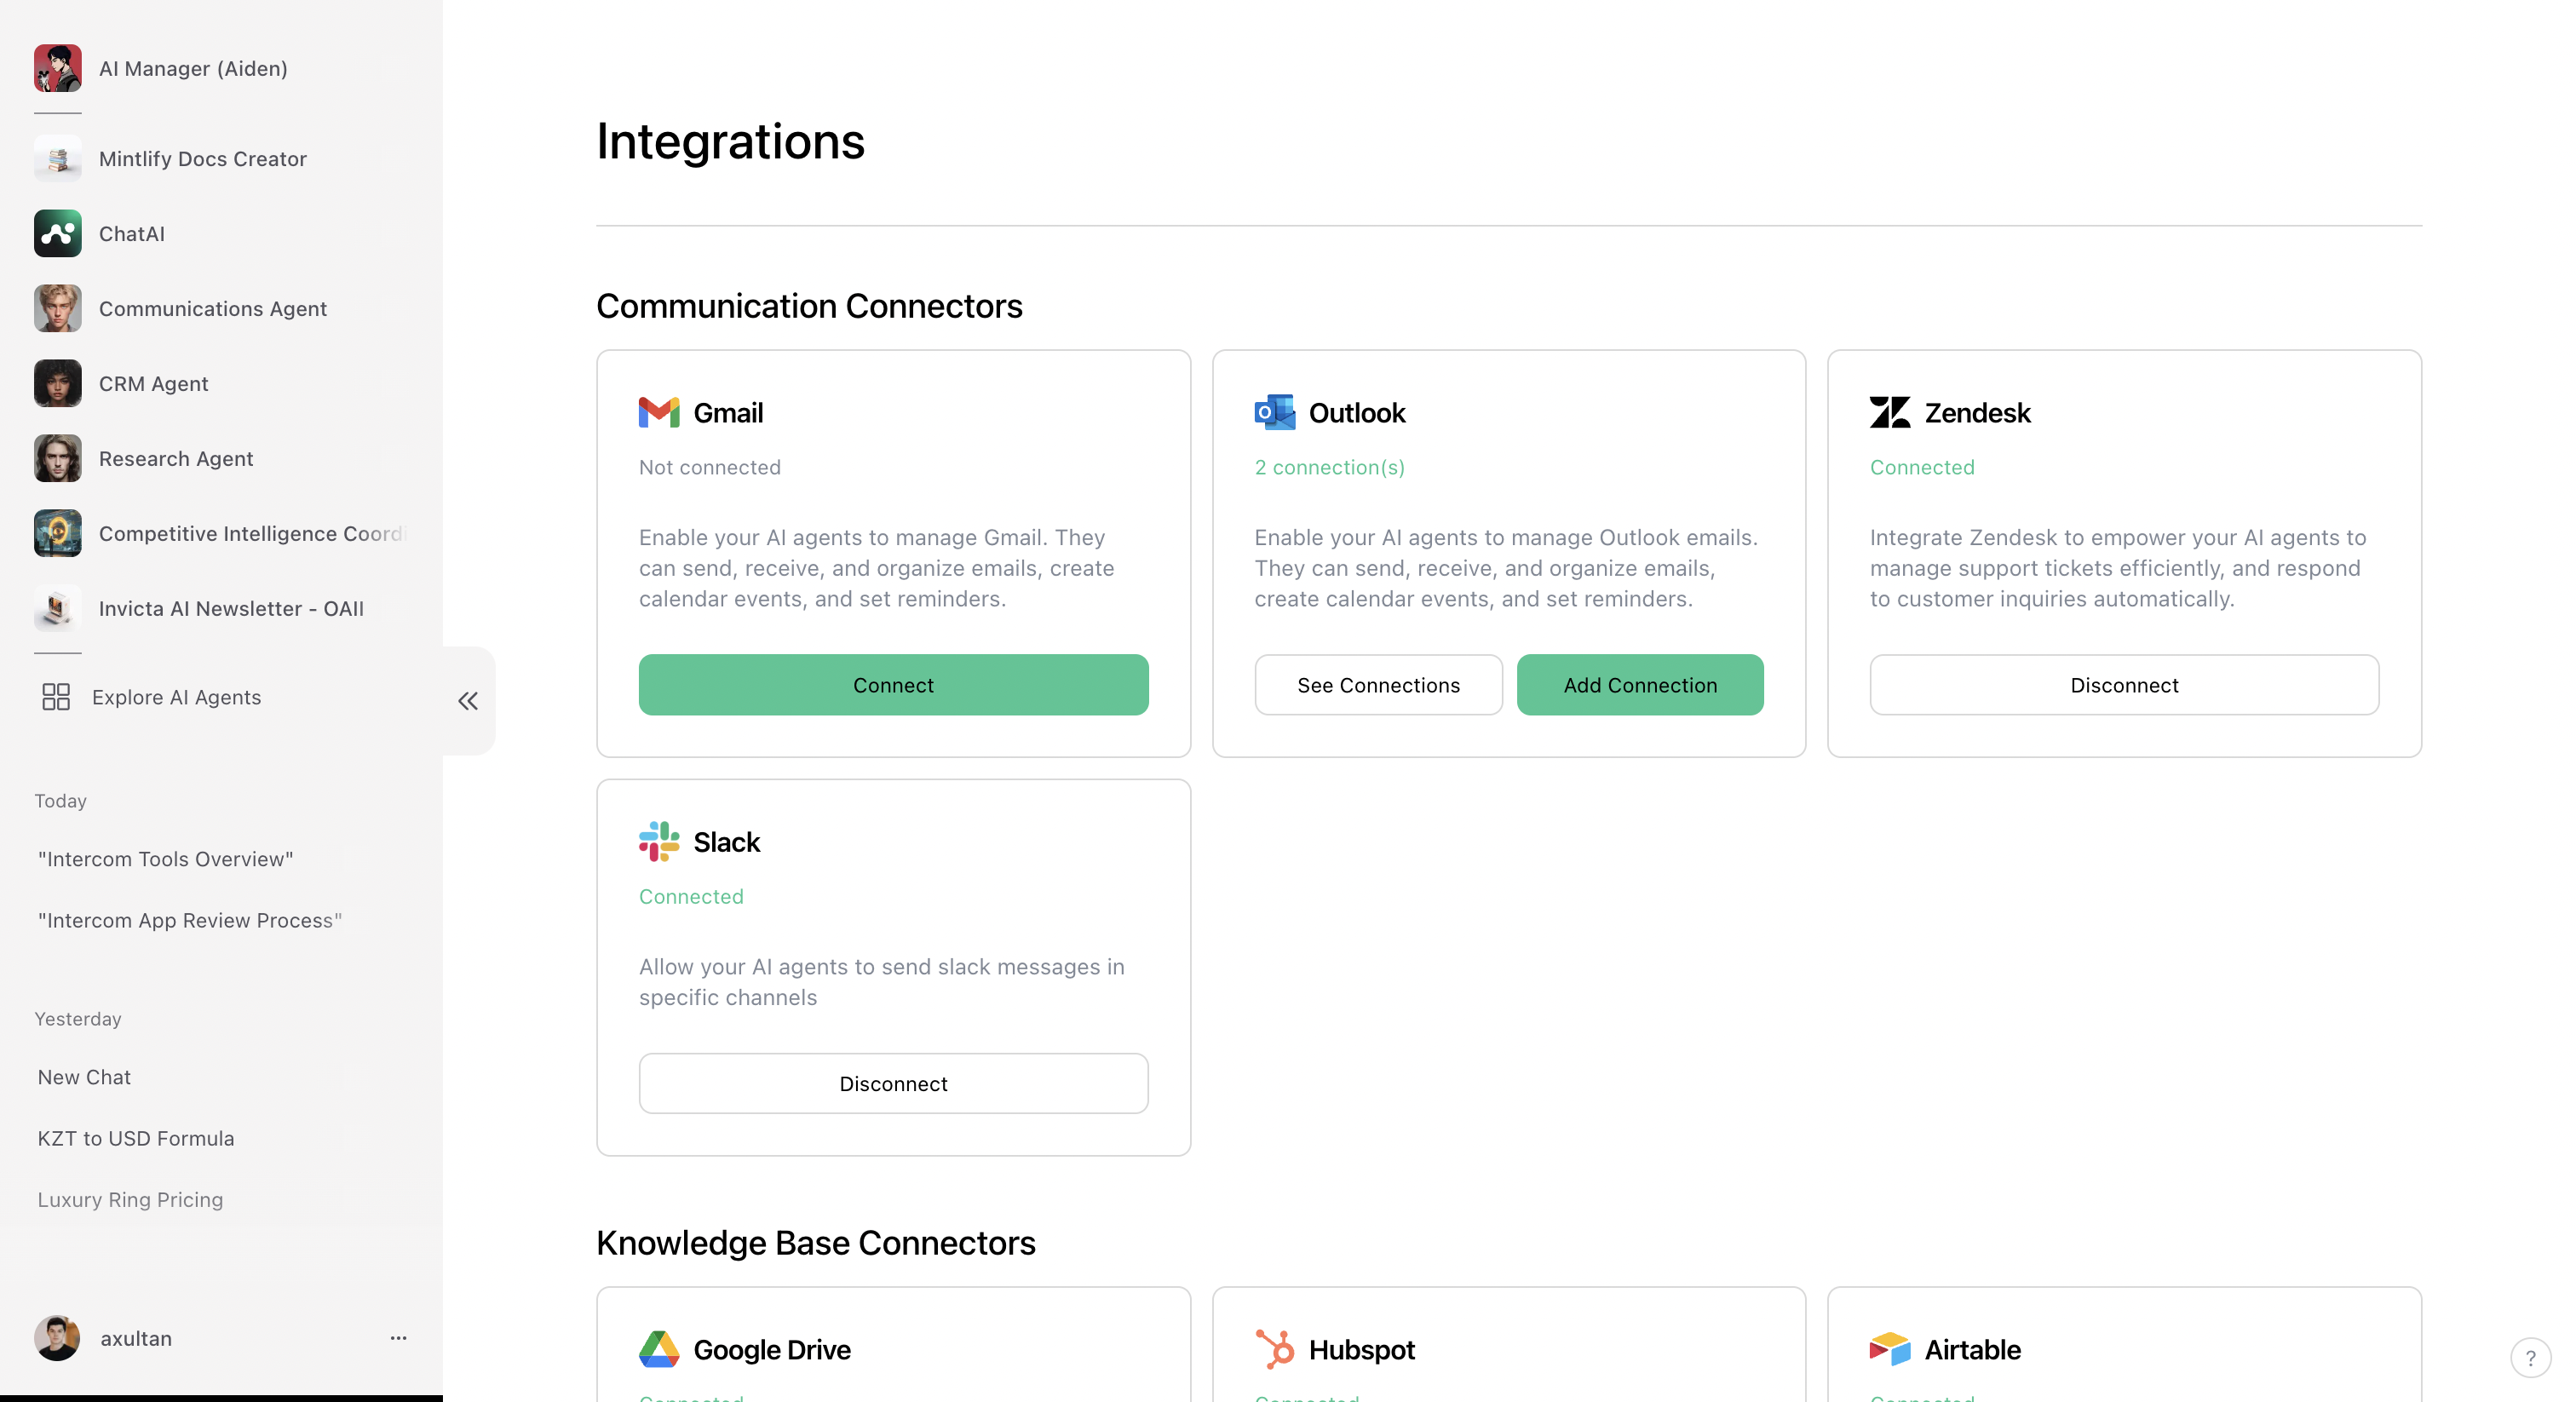
Access Integrations Page
Click on the profile menu in the bottom left corner and select
“Integrations”.

Connect Integration
On the Integrations page, find the specific integration you want to connect
and click “Connect”. Follow the provided instructions to complete the
connection.

Multiple Account Connections
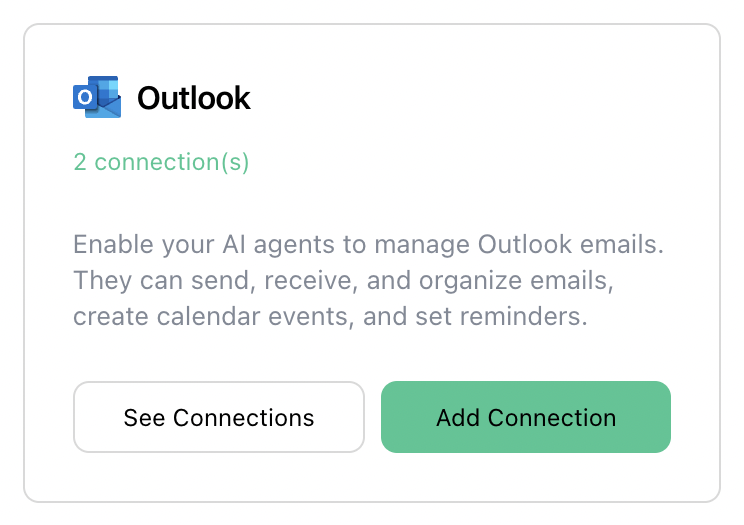
Some integrations support connecting multiple accounts, allowing agents to use different accounts for various tools or triggers.Integrations supporting multiple accounts are indicated by an additional “See
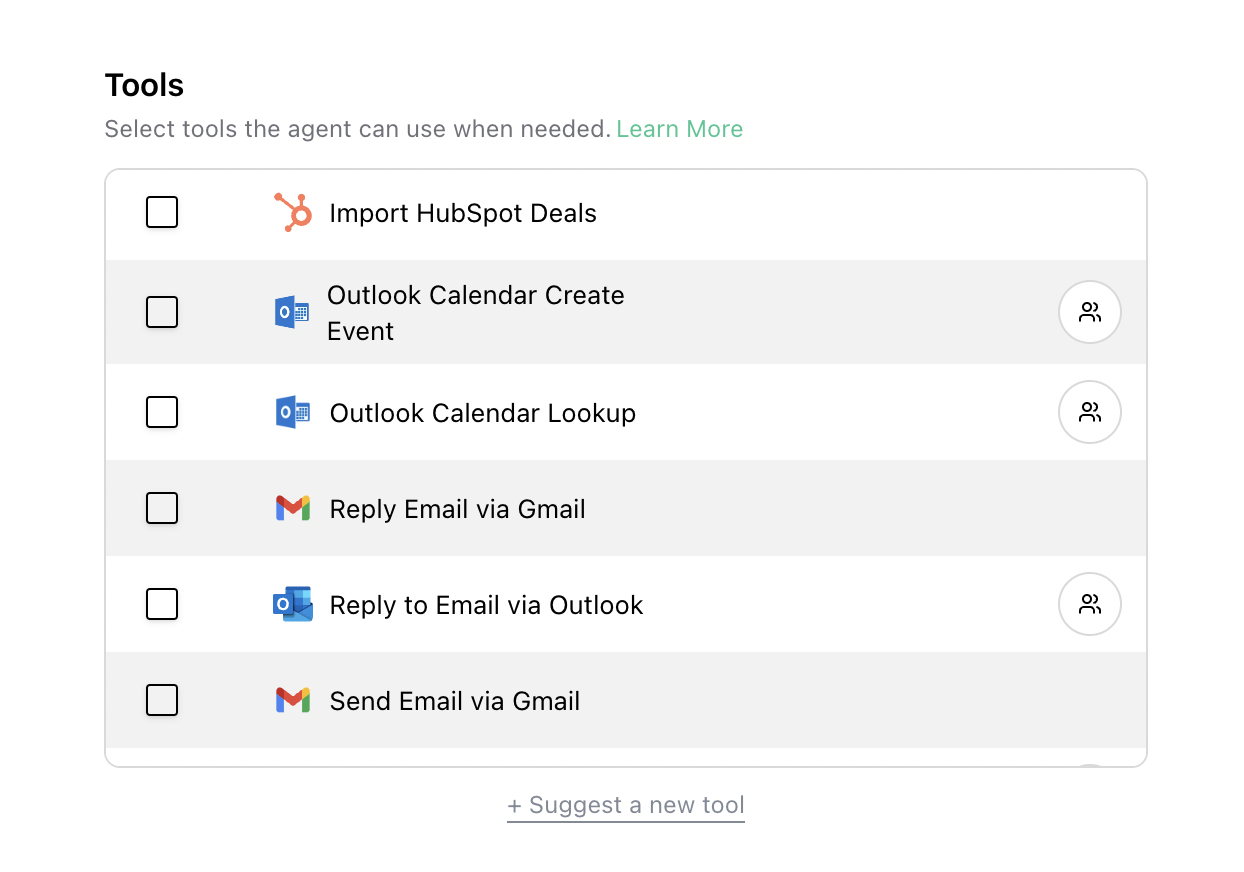
Connections” button on the integration page. In the agent builder, these
tools/triggers are marked with a ”👥” icon.


Setting Up Multiple Accounts
Add Multiple Accounts
Add two or more accounts via the Integrations page as described in the basic
setup process.
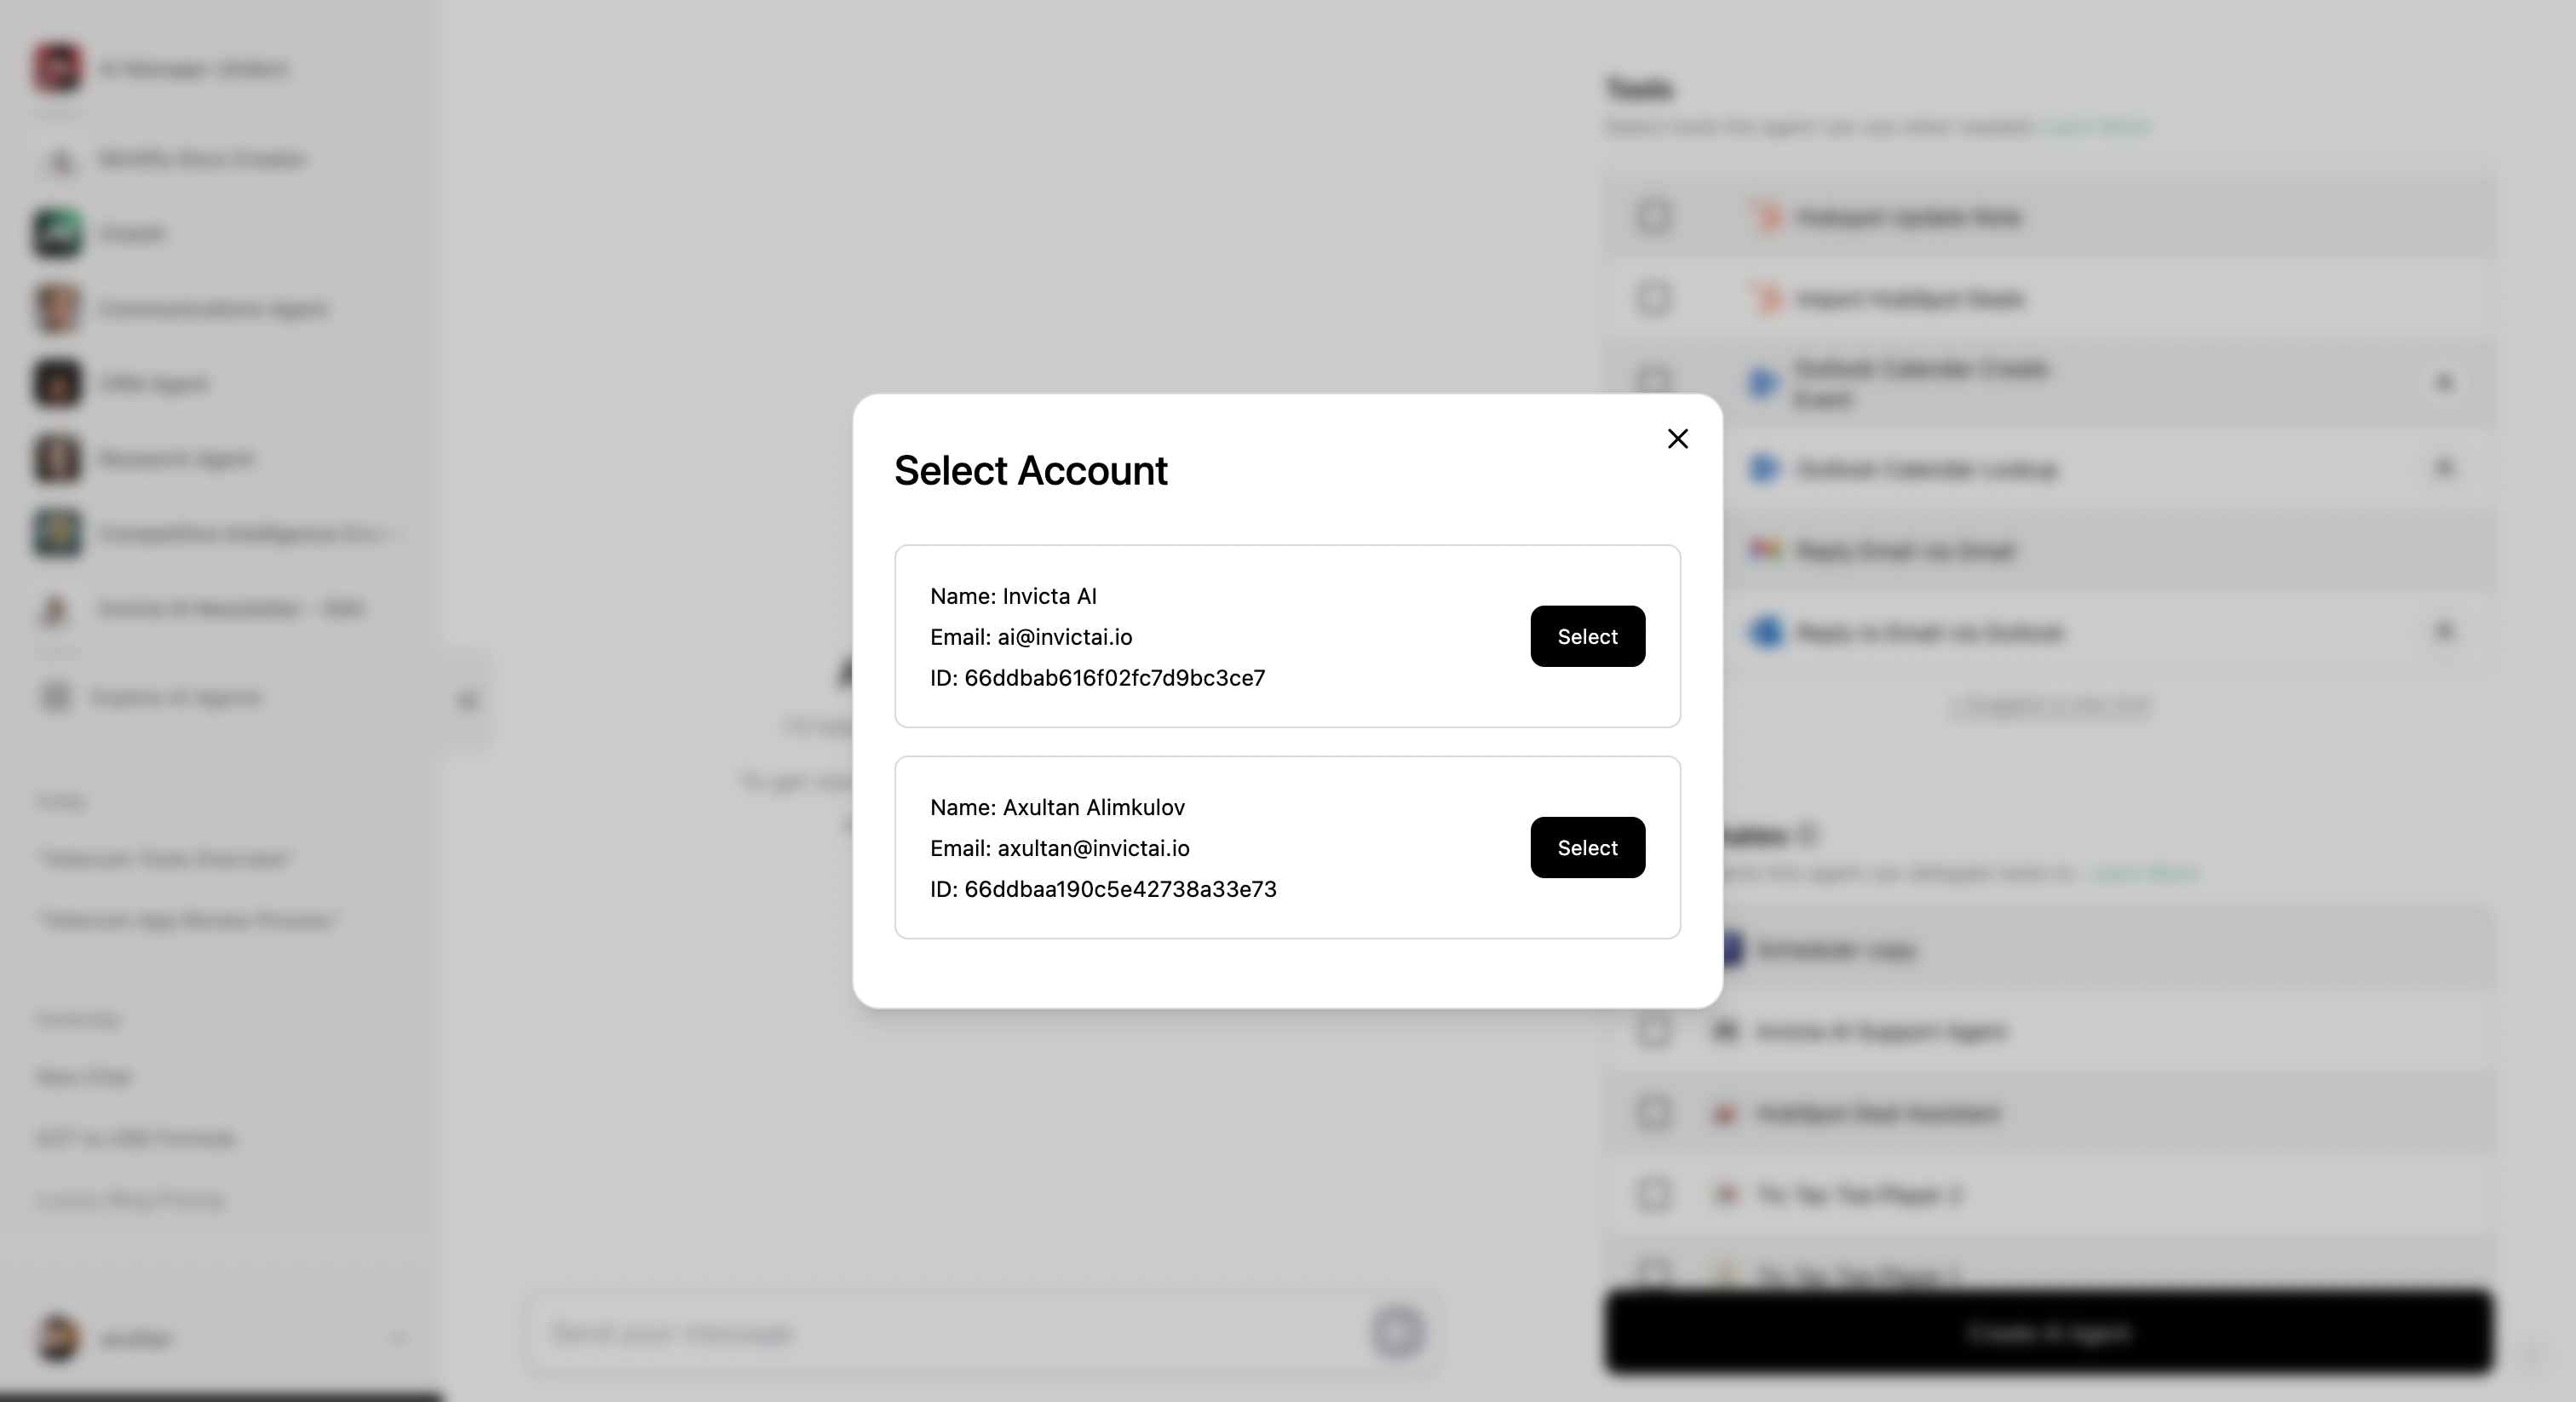
Select Account for Tool/Trigger
When adding a tool or trigger to an agent, a popup will appear prompting you
to select the account for that specific tool/trigger.

Troubleshooting
If you encounter persistent errors with an integration:- Try reconnecting to the integration via the Integrations page.
- If the issue persists, please contact us. We will respond within 15 minutes.